The Essential Pre Cut Tint Guide
The Essential Pre Cut Tint Guide
Window tinting is getting a major upgrade in 2025, thanks to the rise of pre cut tint kits designed for beginners. If you have ever struggled with bubbling films or uneven edges, you are not alone.
This guide is here to demystify pre cut tint. You will get step-by-step instructions, expert tips, and everything you need for professional-looking results, even if it is your first time.
Ready to learn what pre cut tint is, why it matters, and how to install it like a pro? Let us dive in and make your window tinting project simple and successful.
Understanding Pre Cut Tint: What It Is and Why It Matters
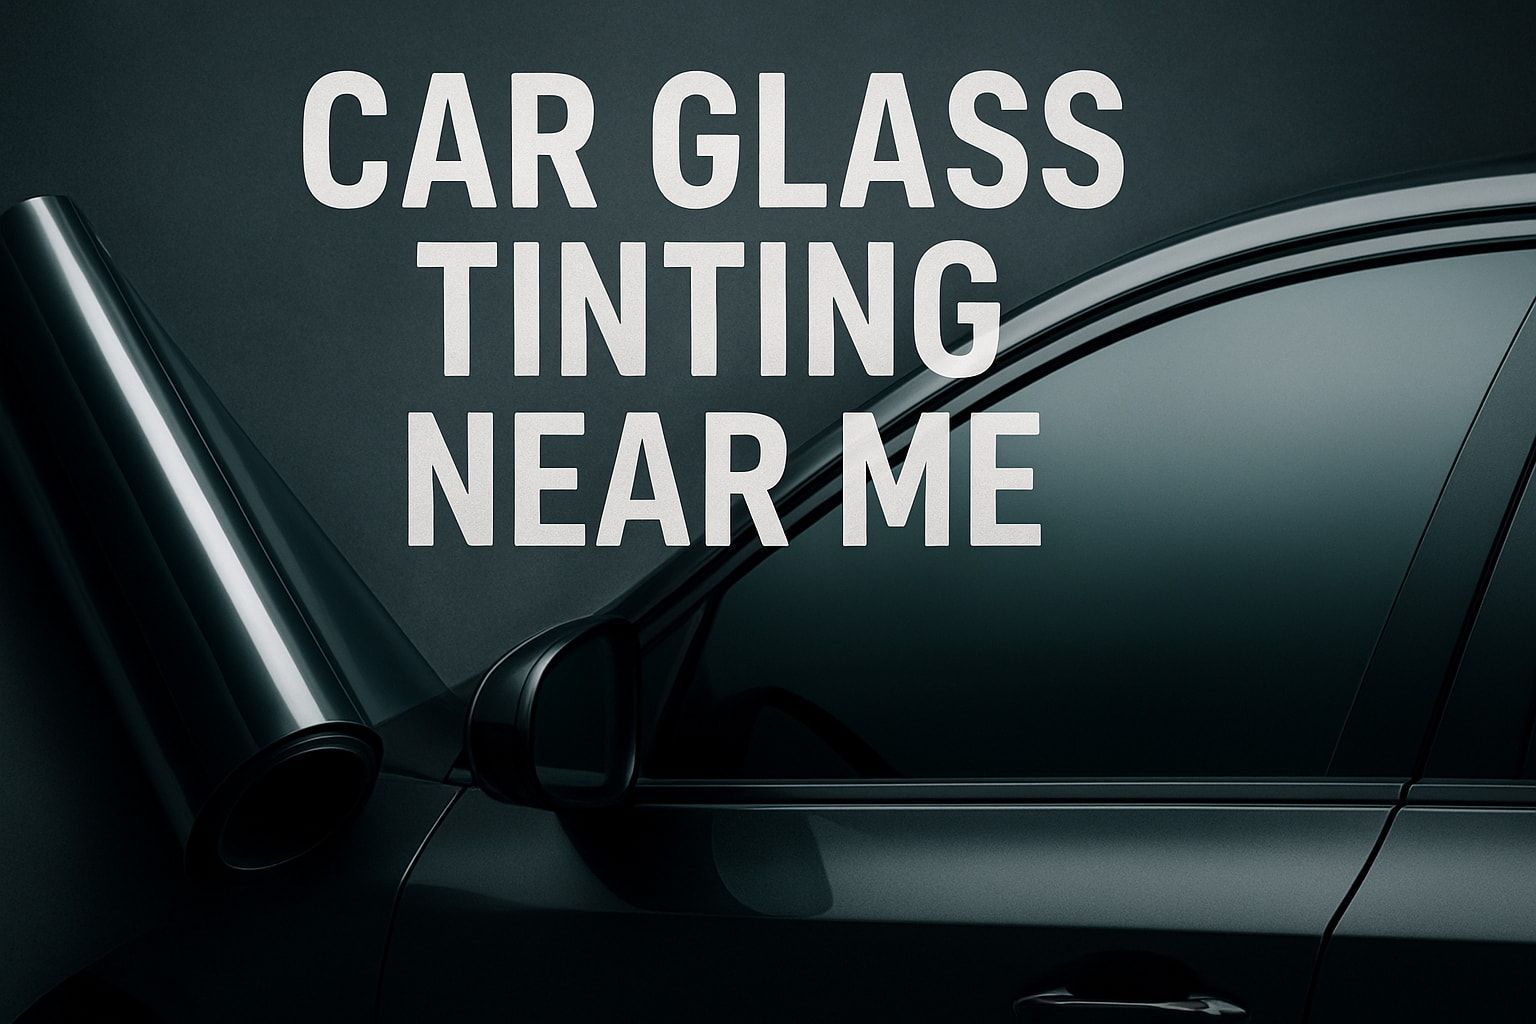
Pre cut tint is a game changer in the world of window tinting, especially for those new to the process. At its core, pre cut tint refers to window film that is precision cut using advanced machines to fit specific vehicle models or window sizes. Unlike traditional tint rolls, which require manual measuring and cutting, pre cut tint arrives ready to apply, tailored to your exact needs.
What sets pre cut tint apart from standard tint rolls is the remarkable convenience and accuracy it offers. With traditional methods, even a small mistake in measurement or cutting can lead to wasted material and frustration. Pre cut tint eliminates much of this guesswork. Each piece is designed to fit perfectly, reducing errors and ensuring a consistent, professional finish every time.
The popularity of pre cut tint has surged in 2025, thanks to significant advances in digital cutting technology and a growing interest in DIY automotive projects. More people are looking for efficient, cost-effective ways to upgrade their vehicles while avoiding the high prices of professional installation. For beginners, pre cut tint offers a straightforward entry point. The process requires minimal measuring, results in less wasted film, and simplifies the application, making it far more approachable for first-timers.
Pre cut tint comes in several main types, each offering distinct advantages. Dyed pre cut tint is popular for its affordability and glare reduction, while metalized versions add heat rejection and durability. Ceramic pre cut tint provides superior UV and heat protection with no signal interference, and hybrid options blend the strengths of multiple materials. One notable advantage is that pre cut kits often include only legally compliant shades for your region, helping users stay within local regulations without extra research.
Ensuring legal compliance is a major concern for all window tinting projects. Pre cut tint kits are designed to match local tint laws, reducing the risk of accidental violations. This built-in compliance provides peace of mind and streamlines the selection process. For further guidance on popular kits and their benefits, the Precut Window Tint Kits for 2025 Vehicles guide offers a helpful overview.
Industry data underscores the growing appeal of pre cut tint. Reports from 2024 show a 30% increase in pre cut tint kit sales, reflecting both consumer demand and industry innovation. Professional installers appreciate the time savings and consistency, while DIYers value the ease and high success rate. The shift toward pre cut tint solutions reveals a trend toward smarter, more accessible window tinting for everyone.
With its precision fit, time-saving installation, and built-in legal assurances, pre cut tint is rapidly becoming the preferred choice for both newcomers and seasoned professionals. Whether you are seeking a flawless finish or a straightforward DIY experience, pre cut tint delivers results that matter.
Key Benefits of Pre Cut Tint for Beginners
For anyone starting out with window tinting, pre cut tint brings a new level of simplicity and reliability to the process. Instead of wrestling with large, unwieldy film rolls and struggling to make precise cuts, beginners can rely on pre cut tint to deliver custom-fit pieces that match their vehicle or window specifications exactly.
Precision Fit and Fewer Errors
Pre cut tint eliminates the guesswork that often plagues beginners. Each piece is laser-cut to fit the exact dimensions of your windows, so there is no need for manual trimming or risky adjustments. This precision drastically reduces the chance of cutting errors, helping users avoid costly mistakes.
- No need to measure or trace templates
- Each piece labeled for its specific window
- Consistent, professional appearance on every pane
Time Efficiency and Cost Savings
One of the biggest advantages of pre cut tint is its time-saving nature. Compared to traditional tinting methods, users can often complete the installation in half the time. Fewer steps and less preparation mean that even first-timers can achieve quality results quickly.
Cost savings are also significant. With pre cut tint, material waste is minimized because every piece is tailored to your needs. You will also need fewer tools, which reduces your initial investment.
Feature Pre Cut Tint Traditional Tint Rolls Cutting Required No Yes Average Install Time1-2 hours3-4 hours Material Waste Minimal High
Enhanced Safety and Professional Results
Pre cut tint helps protect sensitive areas like window defrost lines and rubber seals. Since the pieces are designed to fit perfectly, there is less risk of accidental damage during installation. Even without prior experience, beginners can achieve a factory-quality finish that rivals professional results.
- Prevents scratching or tearing defrost lines
- Reduces risk of film creases or misalignment
- Delivers a smooth, bubble-free surface
Legal Compliance and Peace of Mind
Navigating local tint regulations can be confusing for first-timers. Pre cut tint kits often come with only legally compliant shades for your region, reducing the risk of penalties or failed inspections. This feature provides peace of mind, letting you focus on installation rather than legal research.
Real-World Success Rates and Testimonials
Studies show that DIY installation success rates are much higher with pre cut tint compared to traditional bulk film. Beginners report fewer problems with bubbling, misalignment, and wasted material. Many first-time users express increased confidence and satisfaction with their results.
If you want real-life insights, explore Customer tinting success stories to see how others achieved professional outcomes with pre cut tint.
Why Beginners Choose Pre Cut Tint
In summary, pre cut tint offers a streamlined path to professional-looking results, especially for those without prior experience. With its precision fit, time-saving features, cost efficiency, and enhanced safety, it is no wonder that more beginners are choosing pre cut tint kits for their first project.
Essential Tools and Preparation for Pre Cut Tint Installation
Proper preparation is the foundation for success when installing pre cut tint. Before you begin, organizing your tools and workspace is essential to achieving a smooth, professional result. This section will guide you through each critical step, from selecting the right equipment to understanding your kit’s components.
Must-Have Tools and Materials
Gathering the correct tools is the first step toward a successful pre cut tint installation. Each tool plays a specific role in the process, and using the right materials can make the difference between a seamless finish and a frustrating experience.
- Squeegee: Removes air bubbles and smooths the tint film onto the glass.
- Spray bottle: Holds the application solution, typically a mix of water and baby shampoo.
- Utility knife: Trims excess film for a perfect fit along the window edges.
- Microfiber cloth: Wipes away dust and moisture without scratching the surface.
- Heat gun or hairdryer: Helps the film conform to curved surfaces and ensures strong adhesion.
Many leading pre cut tint brands include starter toolkits, making it easier for beginners to get started. Safety gear is also important: gloves protect your hands from sharp blades and chemicals, while eye protection prevents accidental splashes. For a more detailed breakdown of required equipment and preparation steps, refer to this Pre-Cut Window Tint Installation Guide.
Using the proper tools not only streamlines the process but also ensures your pre cut tint is applied evenly and securely, reducing the risk of damage.
Preparing Your Workspace and Windows
A clean, organized workspace is vital for pre cut tint installation. Dust, dirt, or stray hairs can become trapped under the film, leading to bubbles and imperfections that are difficult to fix later.
Start by clearing the area around your vehicle. Work indoors if possible, where you can control airflow and humidity. Next, thoroughly clean all windows:
- Use a glass cleaner to remove surface grime.
- Wipe with a microfiber cloth to eliminate streaks.
- Apply isopropyl alcohol to remove any remaining residues or oils.
Pay special attention to the edges and corners, as these areas often collect hidden debris. Ideal installation conditions include moderate temperatures and low humidity, which help the film adhere properly and cure without issues.
Taking time to prepare your workspace and clean your windows will significantly improve your pre cut tint results and minimize the risk of common installation mistakes.
Understanding Your Kit and Instructions
Before you start applying pre cut tint, review your kit’s contents carefully. Most kits include pre cut pieces tailored for each window, a set of printed instructions, and sometimes extras like a felt-edged squeegee or additional small tools.
Lay out all the pre cut tint pieces and match them to their corresponding windows. This step prevents confusion during installation and ensures each piece is used in the right location. Many 2025 kits now feature QR codes that link to video tutorials, providing helpful visual guidance for beginners.
Familiarizing yourself with the instructions and identifying each component prepares you for a smooth workflow. By understanding your kit, you reduce the chance of errors and make the entire pre cut tint process more manageable, even for first-time installers.
Step-by-Step Guide: Installing Pre Cut Tint Like a Pro
Installing pre cut tint may seem daunting, but with the right guidance and a systematic approach, even beginners can achieve a professional finish. This step-by-step guide ensures you avoid common pitfalls and enjoy a smooth installation process.
Step 1: Gather Supplies and Prep Work
Begin by collecting all necessary tools and verifying your pre cut tint kit contents. Lay each film piece out in installation order to streamline the workflow.
Create a checklist to ensure nothing is missed:
- Pre cut tint pieces for each window
- Squeegee, spray bottle, microfiber cloth
- Utility knife, heat gun or hairdryer
- Gloves and eye protection
Organizing your workspace before starting helps prevent interruptions. A methodical approach to setup can save time and reduce the risk of errors with your pre cut tint project.
Step 2: Clean and Prep Windows
Thoroughly clean each window to remove dust, oils, and residue. Start with a glass cleaner, then wipe with a microfiber cloth. For stubborn spots, use isopropyl alcohol to ensure a residue-free surface.
Even minor dirt can cause bubbles under the pre cut tint, so inspect every corner. Beginners often overlook window edges, leading to poor adhesion. Take your time to achieve streak-free, spotless glass before moving forward.
Step 3: Position and Test Fit Each Piece
Before peeling the backing, dry-fit every pre cut tint segment onto its corresponding window. Confirm each piece matches the shape and size precisely.
Use painter’s tape to mark alignment points if needed. This step helps you visualize placement and adjust for a perfect fit. A careful test fit reduces the risk of misalignment during actual application, making the pre cut tint process smoother.
Step 4: Apply Application Solution
Mix a solution of water and a few drops of baby shampoo in a spray bottle. Mist the window evenly to create a slippery surface that allows adjustment of the pre cut tint.
Spray generously, but avoid oversaturating. Too much liquid can make handling difficult and delay drying. Consistent coverage is key for repositioning the film during installation and achieving a bubble-free finish.
Step 5: Remove Backing and Apply Tint
Carefully peel the backing from the pre cut tint, exposing the adhesive side. Avoid touching the adhesive with your fingers to prevent fingerprints.
Align the tint with your reference points and gently place it onto the wet window surface. For a detailed walkthrough, the Step-by-Step Guide to Installing 3M Precut Window Tint offers additional visuals and expert advice.
Work slowly to ensure accuracy, as this is a crucial stage for a flawless pre cut tint application.
Step 6: Squeegee and Smooth Out Bubbles
Using a squeegee, start at the center of the window and work outward toward the edges. Maintain firm, even pressure to push out air and solution trapped under the pre cut tint.
If you encounter stubborn bubbles, use short, overlapping strokes. Persistent air pockets may require a pin to release trapped air. Take your time to achieve a smooth, professional look with your pre cut tint.
Step 7: Trim Excess and Final Adjustments
Inspect the edges of your pre cut tint. If any excess film extends beyond the window, use a sharp utility knife to trim carefully along the rubber seals.
Make final adjustments for perfect alignment. Applying gentle heat with a heat gun or hairdryer softens the film, allowing it to conform snugly to curves and corners. This final step ensures your pre cut tint adheres securely and looks seamless.
Step 8: Allow Tint to Cure and Post-Installation Care
Let the pre cut tint cure for the recommended period, usually 48 to 72 hours. High humidity or cooler temperatures may extend curing time.
Avoid rolling down windows or cleaning the surface until fully cured. Watch for signs of incomplete curing, like haziness or shifting edges. Proper aftercare is essential for maximizing the durability and clarity of your pre cut tint.
Troubleshooting Common Pre Cut Tint Problems
Even with the precision of pre cut tint, challenges can arise during installation. By understanding the most frequent issues, you can quickly identify solutions and ensure your tint job looks professional. Below, we address the most common problems first-time installers face and offer practical advice for overcoming them.
Dealing with Bubbles and Creases
Bubbles and creases are typical frustrations when working with pre cut tint. These imperfections usually result from trapped air, dust particles, or improper squeegee technique. Always double-check that your workspace is dust-free before starting.
If bubbles appear, gently lift the affected section and reapply it using even squeegee strokes from the center outward. For persistent small bubbles, a sterilized pin can be used to release the air. To minimize creases, avoid stretching the film and consider using a heat gun for gentle correction. For a step-by-step approach to heat shrinking and smoothing, the Heat Shrinking Window Tint: 2025 Guide provides valuable techniques for achieving a flawless finish with pre cut tint.
Fixing Misalignment and Peeling Edges
Misalignment and peeling edges can compromise the appearance and durability of pre cut tint. These problems often stem from hurried application or insufficient surface cleaning. Before final placement, always dry-fit each piece to ensure proper alignment.
If you notice misalignment, carefully peel back the film and reposition it. Make sure the glass is damp with application solution to allow for easy adjustments. For peeling edges, re-clean the window edges and press the tint down firmly with a squeegee. In some cases, a hairdryer or heat gun can help the adhesive bond more effectively to the glass, improving pre cut tint performance.
Addressing Contamination and Haze
Contamination and haze on pre cut tint typically occur due to leftover residue, dirty tools, or hard water spots. To prevent these issues, use clean microfiber cloths and always mix your application solution with distilled water.
If haze or spots appear after installation, gently clean the surface with a recommended tint-safe cleaner. For stubborn residue, isopropyl alcohol can help break down contaminants without harming the film. Regular maintenance and careful cleaning practices will keep your pre cut tint clear and streak-free, ensuring long-lasting results.
When to Seek Professional Help
Certain pre cut tint issues, such as large tears, severe contamination, or repeated peeling, may be beyond simple fixes. If you encounter widespread problems that affect multiple windows or notice significant damage, it may be time to consult a professional installer.
Consider the cost of redoing the job versus hiring an expert. While most DIYers can achieve excellent results with patience, viewing examples in a window tinting inspiration gallery can help you decide when a professional touch is needed. Investing in expert assistance ensures your pre cut tint maintains its appearance and performance for years to come.
Maintenance and Longevity: Caring for Your Pre Cut Tint
Proper maintenance is essential for keeping your pre cut tint looking sharp and performing at its best. By following the right cleaning methods and care routines, you can extend the lifespan of your tint and enjoy lasting results. Let us explore how to protect your investment and recognize when it is time for an upgrade.
Cleaning and Protecting Your Tinted Windows
Routine cleaning is crucial for preserving the clarity and appearance of your pre cut tint. Always use a soft microfiber cloth and a cleaner that is free from ammonia. Ammonia-based products can cause discoloration and damage over time. Instead, opt for a gentle, tint-safe spray or a mix of mild soap and water.
Keep your cleaning sessions regular. Wipe down the inside of your windows every two weeks to prevent dust and fingerprints from accumulating. For stubborn spots, dampen your cloth with a small amount of distilled water. Avoid using abrasive tools or scrubbing pads, as these can scratch the film.
For more in-depth advice on caring for window film, the Residential window tinting guide offers helpful tips specifically designed for beginners. Keeping your pre cut tint clean not only maintains a professional look but also supports the film's longevity.
Maximizing Tint Lifespan
The durability of pre cut tint depends on several factors, including sun exposure, cleaning habits, and the type of film you choose. Ceramic films, for example, generally last longer than dyed films due to their resistance to fading and heat. Regular inspections help you catch small issues before they develop into bigger problems.
To maximize the lifespan of your pre cut tint, try to park in shaded areas or use a windshield sunshade when possible. This reduces UV exposure and helps prevent premature fading. Make it a habit to check for bubbles or lifting at the edges during routine cleaning.
Most pre cut tint options, when properly cared for, can last between five and ten years. Following these simple steps ensures your tint remains clear, effective, and visually appealing throughout its expected lifespan.
Recognizing Signs of Wear and When to Replace
Over time, even the best pre cut tint will show signs of aging. Watch for fading, bubbling, or peeling, as these indicate it is time for replacement. If you notice persistent haze that does not clear with cleaning, the adhesive may be breaking down.
When it is time to remove old tint, use a steamer or heat gun to soften the adhesive, then gently peel the film away. This method minimizes the risk of scratching your glass. Upgrading to a new pre cut tint kit is straightforward and often includes improved materials and easier installation steps.
Staying alert to changes in your pre cut tint ensures your windows remain attractive and effective, providing privacy and protection for years to come.
Now that you know how simple and effective pre cut tint kits can be, you have everything you need to start your own project with confidence. Whether you’re motivated by better UV protection, increased safety, or just a sleek, professional look, the right tools and expert guidance make all the difference. If you want extra peace of mind or high level security for your space, Lewolf Window Tint and Film Solutions is here to help—from sun control to advanced ballistic film installation. Ready to take the next step and protect what matters most?
Get Protected Today